正文
一、Pytest的安装
(1) 安装
pip install pytest
(2)查看版本,如下表示安装OK
$ pytest --version
pytest 6.2.5
(3)升级
pip install -U pytest
二、创建第一个测试脚本
(1)四行代码即可写一个测试脚本,如下,文件命名为 test_sample.py
def func(x):
    return x + 1

def test_answer():
    assert func(3) == 5
(2)打开cmd窗口或者从pycharm进入终端,或者使用git shell,进入到test_sample.py文件所在的目录,然后执行pytest命令即开始执行脚本
三、使用类组织测试函数
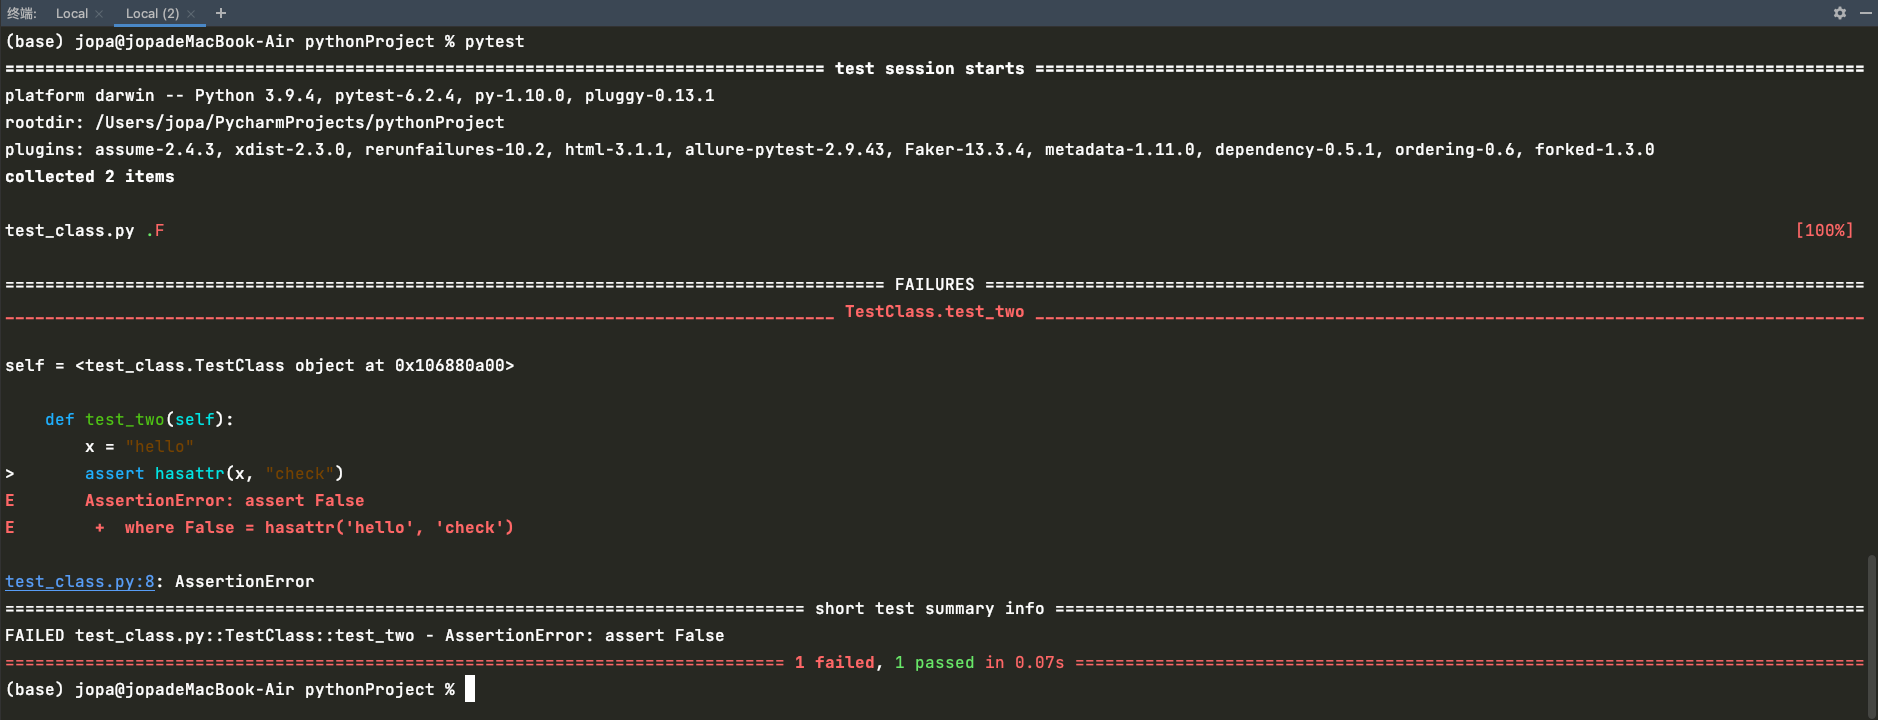
(1)使用类组织测试函数,注意不能写__init__()函数,创建test_class.py文件,代码如下:
class TestClass:
    def test_one(self):
        x = "this"
        assert "h" in x

    def test_two(self):
        x = "hello"
        assert hasattr(x, "check")
然后执行pytest test_class.py 
(2)使用类组织测试函数的好处
- 可以有效的组织用例
- 可以仅在类中共享fixture
- 可以在类上打标签从而对类中的所有用例打标签
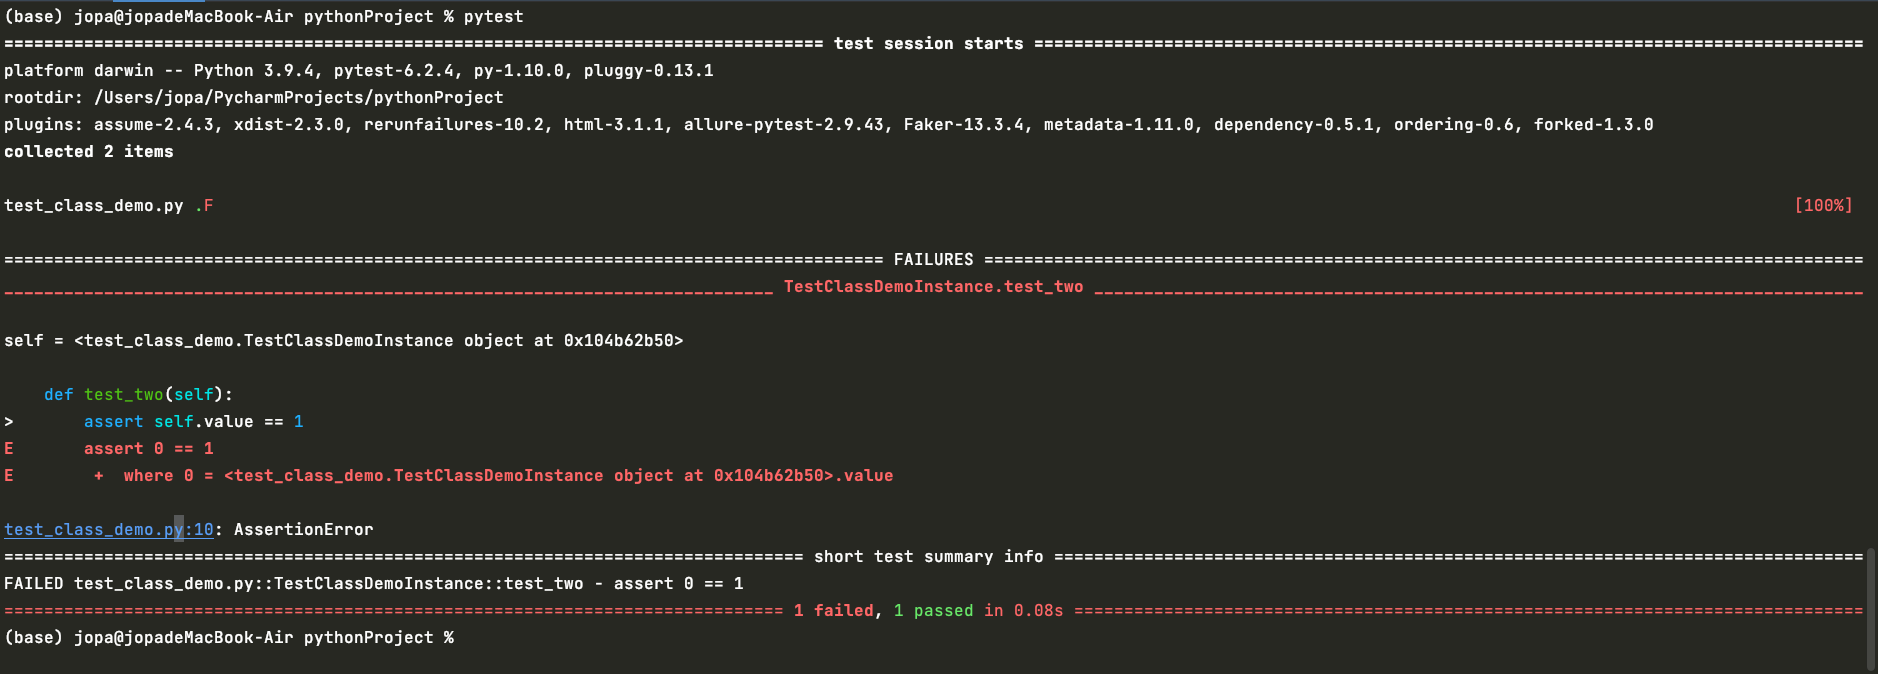
(3)使用类组织测试函数时需要特别注意,其中的每个用例都是测试类的一个独立的对象,类中的用例如果通过类属性共享变量将是非常糟糕的设计,如下:
# content of test_class_demo.py
class TestClassDemoInstance:
    value = 0

    def test_one(self):
        self.value = 1
        assert self.value == 1

    def test_two(self):
        assert self.value == 1
执行结果如下:
四、执行批量用例
pytest 会执行当前目录及所有子目录中的test_.py和_test.py文件中的脚本,更多详细规则请参考 Pytest自动化测试框架----默认用例发现规